English
 Deutsch
 Español
 Français
 Italiano
 日本語
日本語 Русский
 中文
中文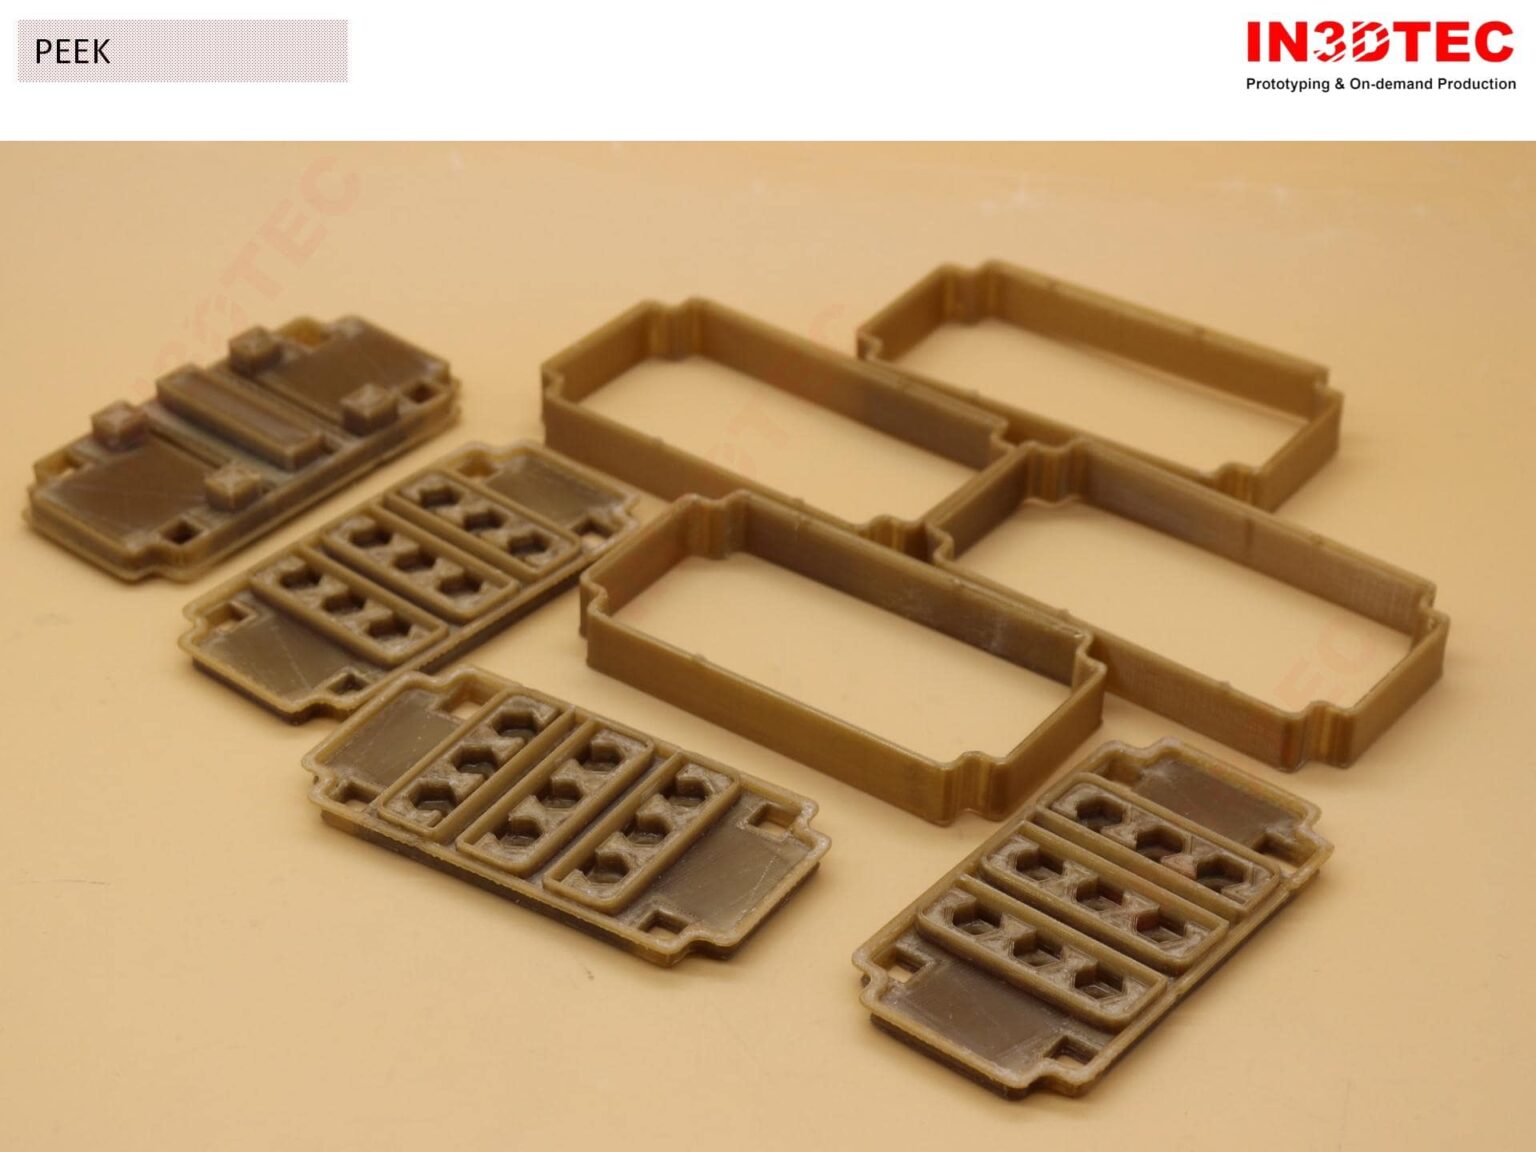
- Author
- 06 November 2025
How to Print with Peek and Peek+ Carbon Fiber: A Comprehensive Guide
A technical guide to mastering high-temperature extrusion, thermal control, and annealing for industrial-grade polymers.
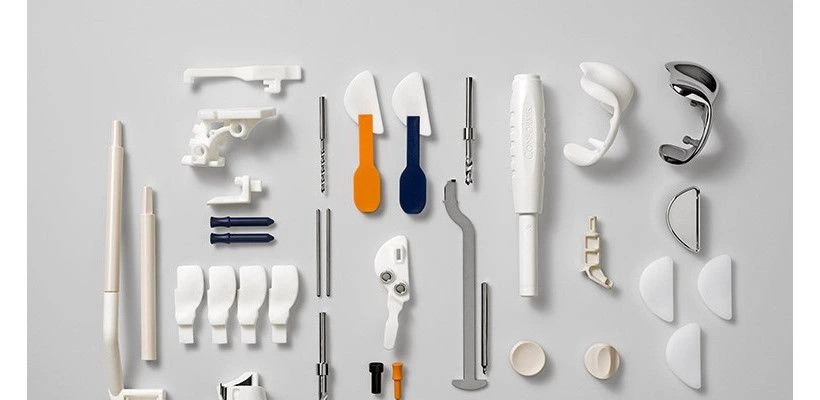
Printing with advanced materials like PEEK (Polyether Ether Ketone) and PEEK+ Carbon Fiber can significantly enhance the performance and capabilities of your 3D printed parts. These materials are known for their excellent mechanical properties, chemical resistance, and high thermal stability, making them ideal for demanding engineering applications. However, printing with PEEK and PEEK+ Carbon Fiber requires specific knowledge and preparation. In this guide, we’ll walk you through the essential steps to successfully print with these materials.
1. UNDERSTANDING PEEK AND PEEK+ CARBON FIBER
- PEEK (Polyether Ether Ketone): PEEK is a high-performance thermoplastic with exceptional mechanical properties. PEEK is a semi-crystalline material, so temperature control is extremely important for successful printing. It offers high strength, rigidity, and resistance to harsh chemicals and high temperatures, making it suitable for aerospace, automotive, and medical applications.
- PEEK+ Carbon Fiber: This composite material combines PEEK with carbon fiber, enhancing its mechanical properties further. The addition of carbon fiber increases the material’s strength and stiffness while reducing its weight, making it an excellent choice for high-performance parts.
2. ESSENTIAL EQUIPMENT AND PREPARATION
- High-Temperature 3D Printer: Ensure you have a 3D printer capable of reaching high temperatures. PEEK and PEEK+ Carbon Fiber require an extruder temperature of around 380-400°C and a heated bed temperature of 130-160°C.
- Enclosed Build Chamber: An enclosed, heated build chamber helps maintain a consistent temperature, reducing warping and ensuring better layer adhesion. It will be super if your printer can achieve 150°C.
- Proper Nozzle: When printing peek, Brass nozzle is recommended because it can transfer heat quickly. However, for PEEK+Carbon fiber, you need to use a hardened steel or ruby-tipped nozzle to withstand the abrasive nature of carbon fiber.
- Bed Adhesion: Use a high-temperature adhesive, such as a PEEK-specific adhesive , PEI (Polyetherimide) sheet or carbon fiber plate, to ensure the print sticks to the bed. And use a double layer of brim is recommended, wider brim and better adhesion.
3. PRINTING PROCESS OF PEEK AND PEEK+CARBON FIBER
Printer Calibration:
- Level the Bed: Ensure your printer bed is level. This is crucial for achieving a successful first layer.
- Calibrate Extruder: Make sure your extruder is properly calibrated to ensure consistent filament flow.
- Make sure the temperature of your print nozzle is stable during the printing process, an extruder cover is recommended.
- If you are using a glass plate for printing, the glass can easily be pulled apart by the internal stresses of the material as the print cools. Therefore, you need to maintain the platform temperature to prevent this from happening.
Material Preparation:
- Dry the Filament: PEEK and PEEK+ Carbon Fiber are hygroscopic, meaning they absorb moisture from the air. Dry the filament in a filament dryer or oven at 100-120°C for at least 6 hours before printing.
- Installation: Ensure that your material is kept in a completely dry environment during the printing process. Remember, any moisture can lead to print failure.
Slicer Settings:
- Temperature Settings: Set the extruder temperature to 390-400°C and the bed temperature to 120-160°C.
- Bottom: Using Raft is a wise choice for printing these two materials
- Print Speed: Print at a slower speed (40-60 mm/s) to ensure better layer adhesion and surface finish.
- Cooling: Enable part cooling fans from the 1st layer, 50%-100% is recommended.
Printing:
- First Layer: Ensure the first layer is well-adhered to the bed. Adjust the bed temperature or use an adhesive if necessary.
- Monitor: Keep an eye on the print, especially during the first few layers, to address any issues immediately.
Post-Processing:
- Annealing: For improved mechanical properties, consider annealing the printed part. Wrap the print in plaster, then place the part in an oven and gradually heat it to 150-200°C, then hold it at that temperature for 1-2 hours before allowing it to cool slowly.
- Polishing: PEEK is easy to polish; using sandpaper or tumbling machines is sufficient to achieve a smooth surface.
Tips for Success
- Experiment: Fine-tune your settings and make adjustments based on the specific requirements of your printer and the part you’re printing.
- Keep Filament Dry: Consistently dry your filament before printing to avoid issues related to moisture absorption.
- Safety First: Printing at high temperatures can release fumes. Ensure your printing area is well-ventilated and use appropriate safety gear. Never print these materials at home, as the high printing temperatures pose a significant challenge to the 3D printer. If a wire burns out, it can cause a fire. Make sure to take proper safety precautions during the printing process.
CONCLUSION
Printing with PEEK and PEEK+ Carbon Fiber can open up new possibilities for creating high-performance parts. By following the guidelines and tips provided in this guide, you can achieve successful prints with these advanced materials. Remember, the key to success lies in proper preparation, precise calibration, and careful monitoring of the printing process. Happy printing!